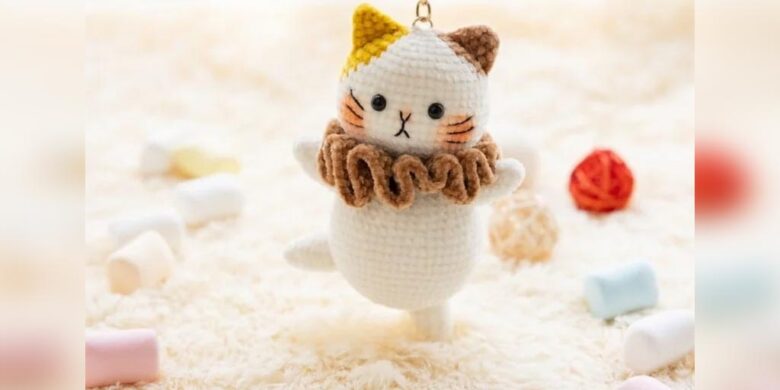
Bird amigurumi projects are a delightful way to explore the art of crochet while creating charming replicas of both domestic and wild birds. Whether you are crafting a colorful parrot or a majestic owl, bird amigurumis can be as simple or intricate as you like. This article provides step-by-step tutorials for making a variety of bird amigurumis, each designed to capture the unique characteristics of these avian creatures.
Materials You’ll Need
Before diving into the projects, gather the following materials:
- Yarn: Choose colors that match the birds you’ll be making.
- Crochet Hooks: Select a size that matches your yarn.
- Stuffing: Polyester fiberfill or scrap yarn.
- Safety Eyes: Available in various sizes and colors.
- Embroidery Thread: For adding details like beaks, feet, and feathers.
- Embroidery Needle: For stitching facial features.
- Scissors, Yarn Needle, and Stitch Markers
Basic Techniques
Here are the essential techniques you’ll need for these projects:
- Magic Ring: A way to start your work in the round.
- Single Crochet (sc): The primary stitch used in amigurumi.
- Increase (inc): Adding stitches to shape your piece.
- Decrease (dec): Reducing stitches to shape your piece.
- Slip Stitch (sl st): For joining rounds or finishing.
Domestic Bird Amigurumi
Parrot
Body:
- Round 1: 6 sc in a magic ring (6)
- Round 2: Inc in each st around (12)
- Round 3: (Sc, inc) around (18)
- Continue increasing until you reach the desired width.
- Work even rounds until you reach the desired height.
- Decrease rounds similarly to form the top of the head and close the body.
Wings:
- Chain 5, sc in second chain from hook and across (4)
- Continue sc in rows until the wing is the desired length.
- Attach wings to the sides of the body.
Tail:
- Chain 6, sc in second chain from hook and across (5)
- Work in rows until the tail is long enough.
- Attach the tail to the back of the body.
Beak and Eyes:
- Embroider a beak with yellow or orange yarn.
- Use safety eyes or embroider eyes.
Canary
Body:
- Round 1: 6 sc in a magic ring (6)
- Round 2: Inc in each st around (12)
- Round 3: (Sc, inc) around (18)
- Continue increasing until you reach the desired width.
- Work even rounds until you reach the desired height.
- Decrease rounds to close the body.
Tail:
- Chain 4, sc in second chain from hook and across (3)
- Attach the tail to the back.
Beak and Eyes:
- Embroider a small beak with orange yarn.
- Use safety eyes or embroider eyes.
Wild Bird Amigurumi
Owl
Body:
- Round 1: 6 sc in a magic ring (6)
- Round 2: Inc in each st around (12)
- Round 3: (Sc, inc) around (18)
- Continue increasing until you reach the desired width.
- Work even rounds until you reach the desired height.
- Decrease rounds to form the top of the head and close the body.
Wings:
- Chain 6, sc in second chain from hook and across (5)
- Continue sc in rows until the wing is the desired length.
- Attach wings to the sides of the body.
Eyes and Beak:
- Use large safety eyes for the characteristic owl eyes.
- Embroider a beak with yellow or orange yarn.
Ears:
- Create small tufts for the ears by chaining and sc, attach to the top of the head.
Robin
Body:
- Round 1: 6 sc in a magic ring (6)
- Round 2: Inc in each st around (12)
- Round 3: (Sc, inc) around (18)
- Continue increasing until you reach the desired width.
- Work even rounds until you reach the desired height.
- Decrease rounds to close the body.
Tail:
- Chain 5, sc in second chain from hook and across (4)
- Attach the tail to the back.
Beak and Eyes:
- Embroider a small beak with yellow yarn.
- Use safety eyes or embroider eyes.
Chest:
- Use red yarn to create the robin’s red chest by stitching over the body.
Adding Details
Enhancing your bird amigurumis with details can make them more realistic and charming:
- Feathers: Use yarn or embroidery to add feather details.
- Claws: Create small claws with yarn or felt.
- Color Patterns: Use different colors to mimic the natural patterns of the birds.
Displaying Your Bird Amigurumi
Showcase your bird amigurumi with these creative ideas:
- Nature Displays: Place them in a decorative birdcage or on branches for a natural look.
- Educational Tools: Use them to teach children about different bird species.
- Gifts: Give them as unique, handmade gifts.
Creating bird amigurumi is a fun and rewarding craft that brings the beauty of avian creatures into your home. By following these tutorials, you can make a variety of birds that are not only adorable but also great for teaching and decoration. Enjoy your crafting journey and happy crocheting!


