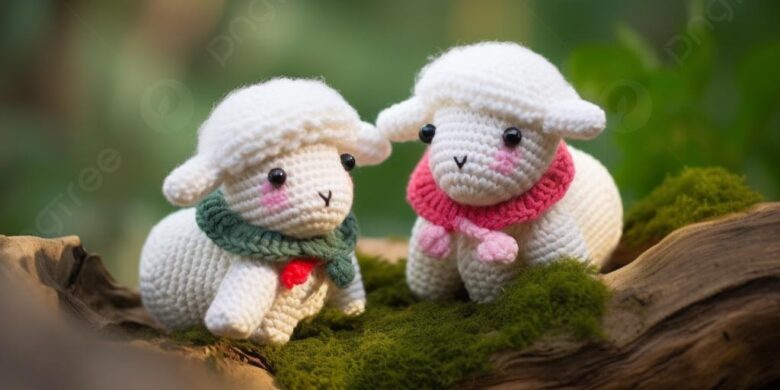
Easter is a perfect time to get creative with amigurumi, crafting adorable bunnies, colorful eggs, and other festive items that add charm to your celebrations. In this article, we’ll guide you through making a variety of Easter-themed amigurumi, providing patterns, tips, and inspiration for each project.
Materials Needed
1. Yarn
- Types: Use cotton or acrylic yarn in pastel colors like pink, blue, yellow, and green.
- Tip: Choose yarn that holds its shape well for detailed patterns.
2. Crochet Hook
- Size: Typically, a 3.5mm or 4mm hook works best for amigurumi.
- Tip: Ensure the hook size matches your yarn to create tight stitches.
3. Fiberfill Stuffing
- Description: Polyester fiberfill is perfect for stuffing your amigurumi.
- Tip: Stuff firmly but evenly to maintain shape.
4. Yarn Needle
- Description: A yarn needle is used for sewing parts together and weaving in ends.
- Tip: A long, sharp needle works best for amigurumi.
5. Safety Eyes and Embroidery Floss
- Description: For adding facial features and details.
- Tip: Use contrasting colors for visibility.
Step-by-Step Instructions
1. Bunny Amigurumi
Pattern Overview:
- Body and Head:
- Magic Ring: Start with a magic ring and work 6 single crochets (sc) into the ring.
- Increase Rounds: Follow the standard increase pattern to form a round shape.
- Crochet even rounds until the desired height, then decrease in reverse to close.
- Stuff firmly before closing.
- Ears:
- Chain and work back in single crochet to form long, thin ears.
- Attach the ears to the top of the head.
- Arms and Legs:
- Create small tubes by crocheting in the round.
- Attach the arms and legs to the body.
- Face:
- Add safety eyes, embroider a small nose, and stitch a smile.
Tips:
- Detailing: Add a small bow or dress to personalize your bunny.
- Variety: Make bunnies in different colors for a vibrant collection.
2. Easter Eggs
Pattern Overview:
- Base:
- Magic Ring: Start with a magic ring and work 6 sc into the ring.
- Increase Rounds: Follow the standard increase pattern to form a round shape.
- Crochet even rounds to create the egg shape, then decrease in reverse to close.
- Stuff firmly before closing.
- Decoration:
- Use contrasting yarn to embroider stripes, dots, or other patterns on the egg.
Tips:
- Detailing: Add beads or sequins for extra sparkle.
- Customization: Create eggs in various sizes and colors for a festive display.
3. Chicks
Pattern Overview:
- Body and Head:
- Magic Ring: Start with a magic ring and work 6 sc into the ring.
- Increase Rounds: Follow the standard increase pattern to form a round shape.
- Crochet even rounds until the desired height, then decrease in reverse to close.
- Stuff firmly before closing.
- Beak and Wings:
- Chain and work back in single crochet to form a small triangle beak.
- Create small wing shapes by crocheting in the round.
- Face:
- Add safety eyes and attach the beak.
Tips:
- Detailing: Add a tiny bow tie or hat to personalize your chick.
- Variety: Make chicks in different colors for a playful collection.
Tips and Tricks
1. Use Stitch Markers
- Tip: Mark the beginning of your rounds to keep track of your stitches.
2. Keep Tension Consistent
- Tip: Maintain even tension to ensure a uniform appearance.
3. Experiment with Colors
- Tip: Use bright and pastel colors typical of Easter for a festive look.
4. Pay Attention to Detail
- Tip: Small details like the placement of eyes and embroidery can significantly impact the final look.
Conclusion
Creating Easter amigurumi is a fun and festive way to celebrate the holiday. With these step-by-step instructions and tips, you can craft adorable bunnies, colorful eggs, and charming chicks that add a handmade touch to your Easter decor. These crocheted treasures are perfect for gifts, decorations, or as part of an Easter egg hunt. Happy crafting!


